How to Use Film Today
How to Use Film Today
If you’re like me, you probably have a couple of film cameras around. I’ve bought some and some have been handed down to me. Yes, I still use my digital Canon DSLR primarily, however film still has its uses.
There are advantages to the old analog way of film. The first is quality. Film with the proper scanner, can be scanned at high resolution. 35mm film with is really the easiest, inexpensive and widely used film can be scanned at resolutions of 70 mega pixels. You might be wondering why nobody talks about this. The reason is that it is extremely time consuming and it really relies on getting good quality film. Old research estimated that film had the equivalent of 8-12 mega pixels compared to digital, however this did not take into account the film grain.
Film grain is the mega pixels of film. Think of it like sand. When light hits the film the sand locks in that color. Now the old school of thought was that you don’t need to convert film to digital and get any definition of the film grain just discard that detail. This very foolish logic. That would be like taking a 50 Mega pixel camera and looking at the photo on a phone and saying it looked the same as a 4 Mega pixel photo. You can’t see the maximum quality if you’re removing the advantages from one source and comparing it to the next.
Film grain or the sand of the film also has different sizes. This is referred to the ISO or ASA. The smaller the ISO rating the smaller the film grain size. ISO 100 is a very fine film grain which means you get a lot of detail. However, because the film grain is so small it needs a lot of light to capture a picture. This means it’s good for brightly lit and sunny outdoor weather, but not so good for dark areas. I’ve been able to get 70 mega pixels from 35mm film with an ISO of 100.
Now if you need to take pictures in darker indoor or outside during cloudy or stormy weather a better choice would be film with an ISO of 400. This film has a larger film grain which makes it more sensitive to light. However, this means that instead of getting 70 mega pixel scans you can only get 40 mega pixel scans. And the higher the ISO you go the more detail you lose on the negative which means less unique data when scanned and less usable mega pixels. You might be thinking well this is where digital has an advantage. However, digital has the same problem. While the sensor may be 50 Mega pixels if you turn the ISO of a digital camera higher like to ISO 400 or above you get digital noise which doesn’t look good and the quality just like film is greatly reduced.
The second advantage is the wide dynamic range of film. Black and White and even color film captures a wider color range than digital. Digital has always had problems capturing bright areas. Often if an area of the photo is too bright the camera will just assume it’s a bright white color and get no further detail from the brightened area. A way to combat this with digital is to always shoot a little darker than normal and brighten as needed while you edit the photograph. Film does not have this problem. It captures a huge range of brightness while at the same time getting rich shades and tones from the dark and shadow areas of the photograph.
The problem with film is time. With digital photography I can go out take 200 photos, select the best 60 photos. Then edit them and publish them online in about 2 hours. With film I have to send it out, wait for it to get developed then get it sent back. Then I scan the negatives myself with my film scanner and in order to get those 70 mega pixel images the scanner has to move very slowly. In fact, it takes about 8 minutes to scan one photo. I usually start playing a game or do some video editing while I’m scanning because it takes so long.
But the quality is worth it if you have the time and are dedicated. I have a photations series called the Milwaukee Project where I scanned medium format color film and because it’s on film I was able to complete the animation natively in 8K with no upscaling. In fact, the images had to be downscaled to fit in the 8K screen size. It did however take a lot of time.
Now the place I develop all my film is a place called The Dark Room. I highly recommend this place. I complete the online form telling them how much film I’m going to send them. Then I pay online and I get a shipping label from them that I print. I attach the label to the envelope or box with all my film and I send it to them. I’m on the other side of the country but when they get my film they email me they got it and usually with in the same day or 2 they developed it and sent it back. Like I said the longest part is the shipping it’s about 5 days there and 5 days back. The Dark Room even does free scans of the film which you can download from their website and they give you a CD with your returned negatives. If you pay extra you can get higher quality scans.
Here’s the link to The Dark Room https://thedarkroom.com/
They develop 35mm color and black and white as well as 120 (Medium Format) film also black and white and in color and even more film types.
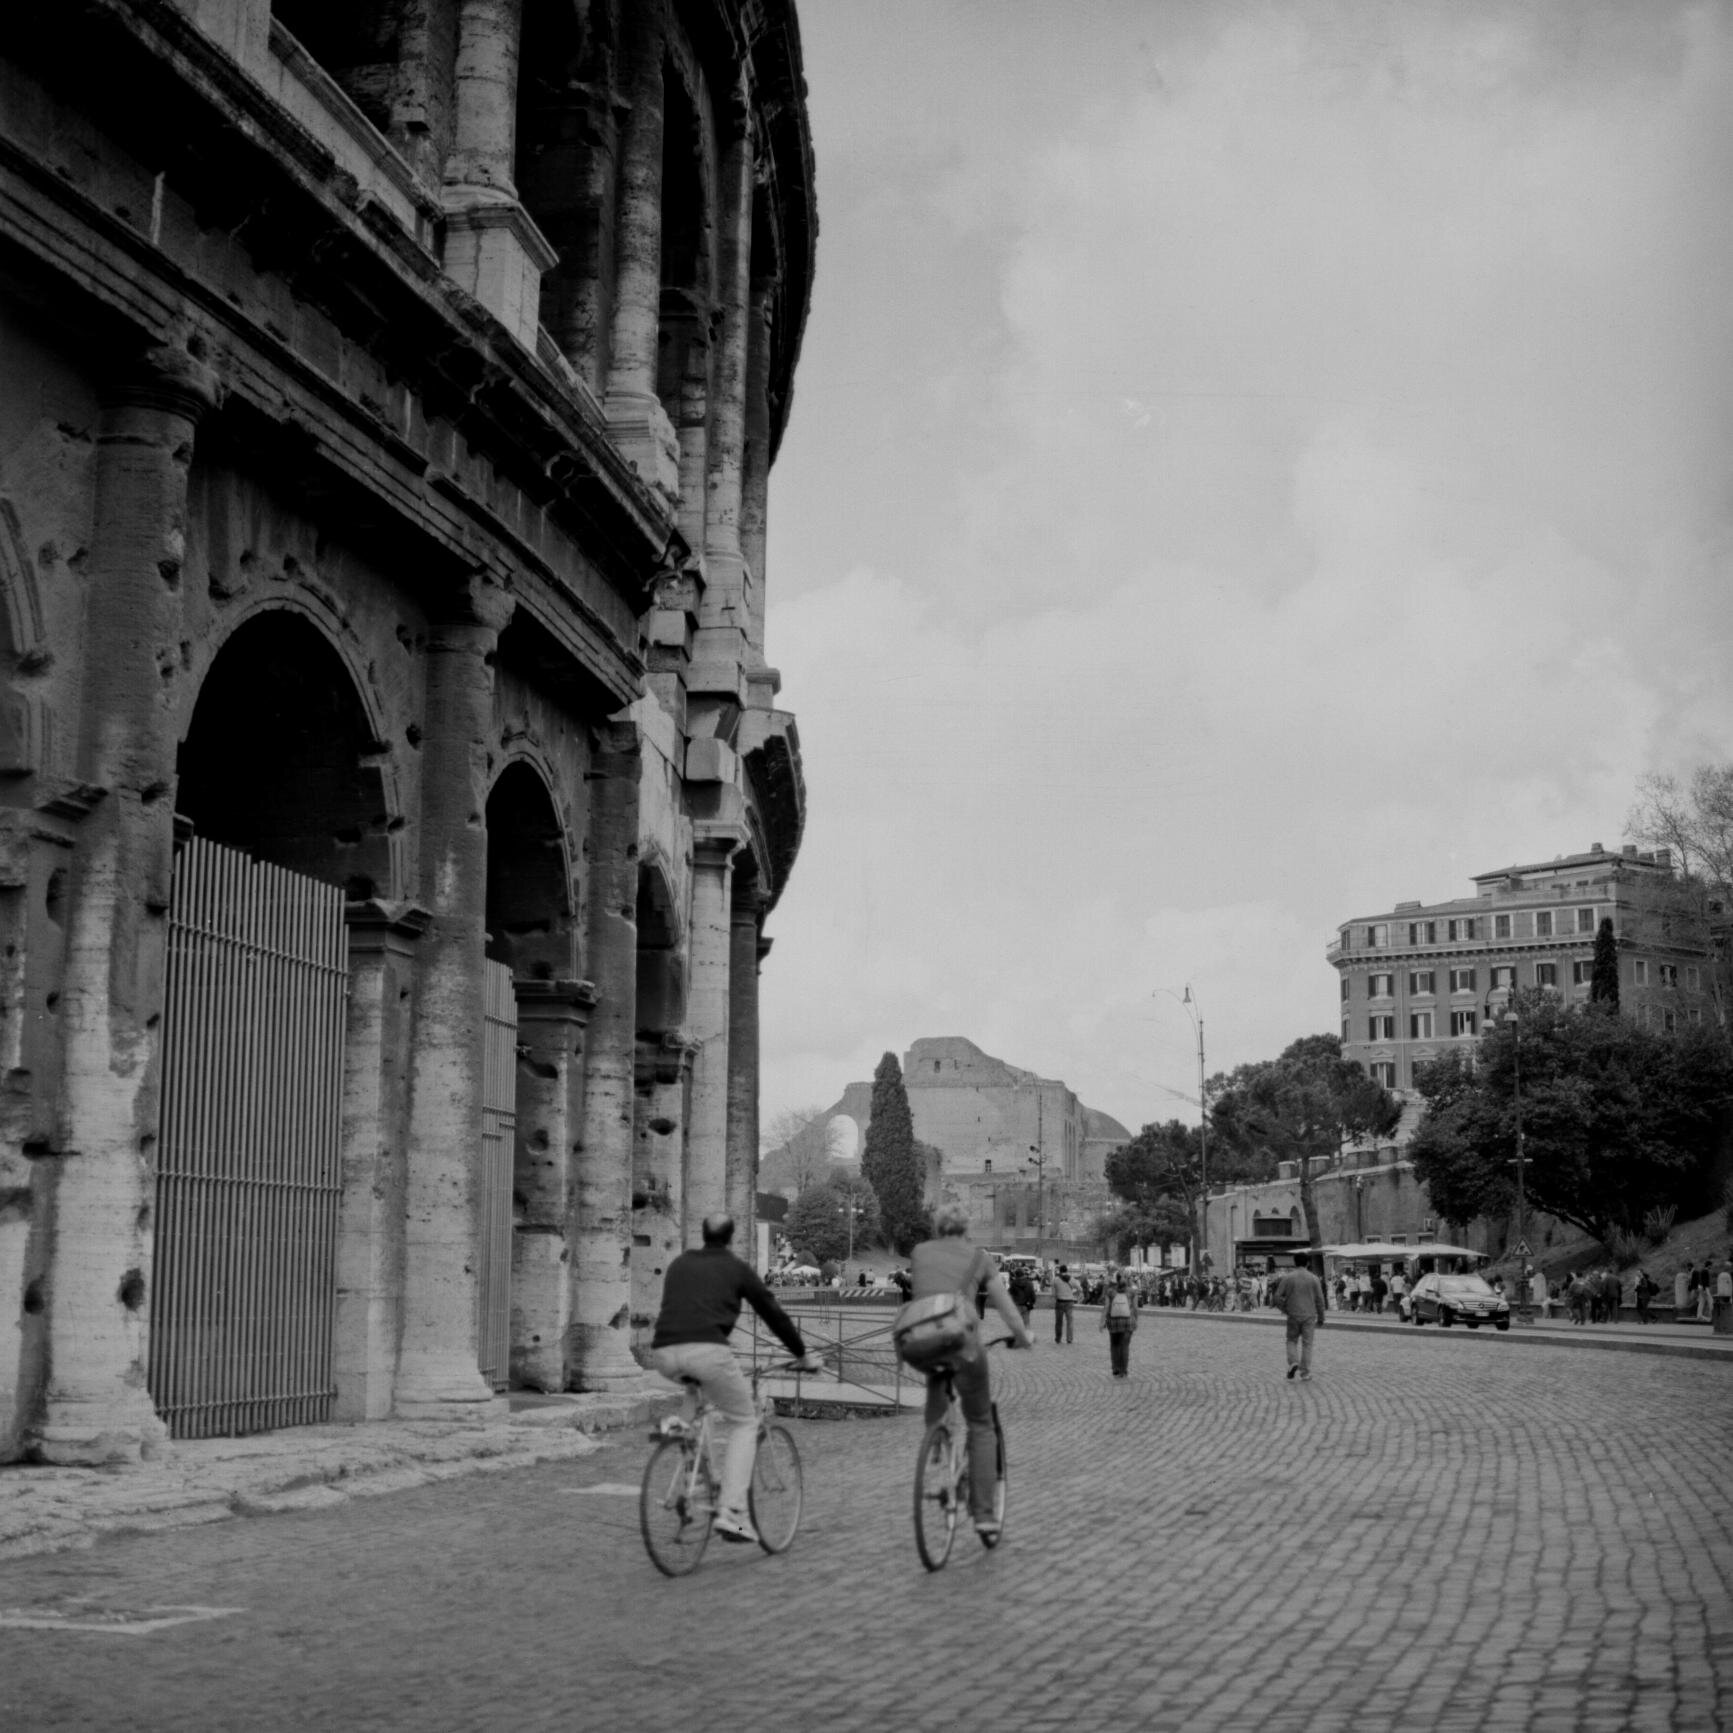
Below you’ll find links and example photographs of the film I use
Below you’ll find links and example photographs of the film I use








Video edition of the Photations Live to Tape podcast featuring the Junior Classics Vol.1 Fairy and Wonder Tales reading